How to make a blog using github
2020-06-05You probably have already seen some software page hosted from github itself. This is a nice feature offered by github called github pages that basically allow you to host static content and serve it as a regular website.
But that's not all of it. Github pages also has support for Jekyll, a static web site generator.
Blogger and other platforms give you many tools, but they add an overhead if you want to do anything more advanced than text.
Using Jekyll and github pages, each post is a raw html file, and besides that you get a blog that is easy to backup and move elsewhere, if you must.
I tried to create the simplest possible theme for a blog (this one you are reading) and I will walk you through on how to reuse it for yourself.
What you will need
Some knowledge of git and html or markdown. I intend to maybe in the future write an app to commit the post files so even this is not required but I digress.
Forking the repo
First step is to fork this repo. But instead of using the fork function on github, we will clone the repo and re-commit it.
This way you can do it as many times as we want for the same repository
You need to have a repository, so for our example let's create YOUR_BLOG
You can also create a repo YOUR_USER.github.com which will result in a sligthly different url.
On your commandline do:
git clone git@github.com:beothorn/SimpleGithubBlog.git
mv SimpleGithubBlog YOUR_BLOG
cd YOUR_BLOG
git remote set-url origin git@github.com:YOUR_USER/YOUR_BLOG.git
git push
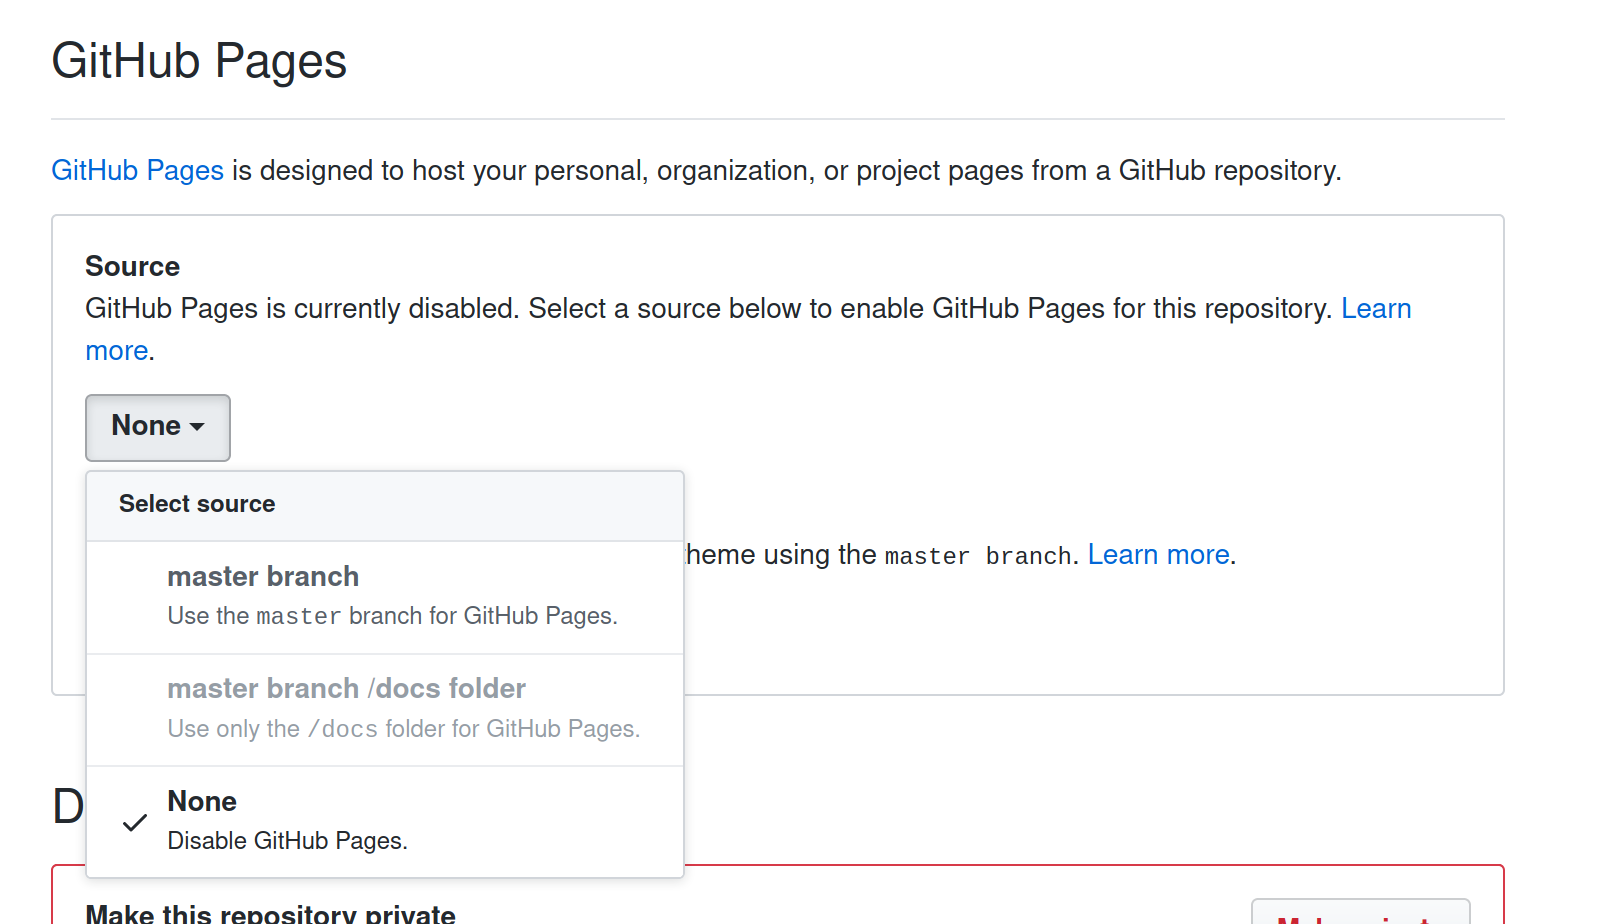
Now you need to enable github pages on the master branch. On your repository go to Settings>Github Pages
Now on Source choose Master
Now access http://YOUR_USER.github.io/YOUR_BLOG , or if you used your own name just http://YOUR_USER.github.io/
You should already see your blog.
Changing the blogs name
Now let's change the title of this blog to yours.
Open _config.yml you should see:
name: YOUR_BLOG
description: Your blog with interesting articles
url: http://YOUR_USER.github.io/YOUR_BLOG
name will be the title displayed on the header
description and url will be used to fill the rss feed at http://YOUR_USER.github.io/YOUR_BLOG/feed.xml
Changing the color theme, header and footer
Open styles.css at the project root folder, you should see the color values that you can customize as you wish:
:root {
    --text-color: #bfbfbf;
    --lighter-text-color: #919191;
    --background-color: #1c1c1c;
    --post-background-color: #444;
    --link-color: #5992b5;
}
The header and footer are under the _includes folder
Adding and removing posts
With Jekyll, each post is a file under the _posts folder. Posts can be markdown or html.
The file must have the format Year-Month-Day-PostTitle.md for markdown Year-Month-Day-PostTitle.html for HTML.
There is already two example posts there, opening any of them you will see that before the actual post you have:
---
title: Markdown example
layout: singlePost
comments: true
---
This section is the Jekyll "Front Matter" and is required. This is a snippet of YAML and is used to set some variables
First one is the title of the post, it shows on the left menu and also on the rss feed
Second is the layout, you can check the layouts under the _layouts folder. Just keep it like that
For last "comments" tells wether or not Disqus comments should be enabled for this post
Disqus comments can be configured selecting "I want to install Disqus on my site" here
You can also enable or disable it per post, just set the variable to false
After that, you can write your post with the language you have chosen. Then just commit it and github will process and publish your blog.